Conveyor belts (PU, PVC,…) assembly – ERO Joint® lacing
 The installation method is the same for every belt with textile ply
Video of conveyor belt ERO Joint® assembly:
Step 1
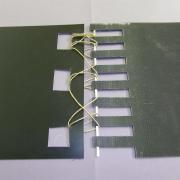 The belt can be cut, prepared and assembled to ERO joint® (one side already assembly with one rod). This allows to pull the new belt in the conveyor (to secure the assembly, you can tape up the teeth on the edges).
The rod should be removed as soon as the belt is installed.
Please respect the indicated rotation way.
Step 2
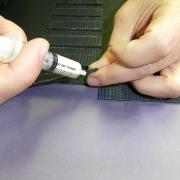 To start the assembly:
Need to apply some solution in every hole of each finger on one side of the belt. (This solution can be used as a lubricant and therefore make the assembly easier).
Step 3
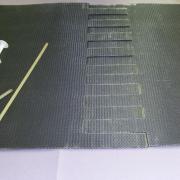 Then fit quickly the fingers of joint together. (The lubricant is not drying).
Step 4
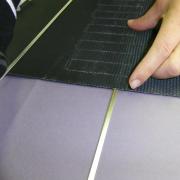 Finally, insert the rods in the hole by taking care that the rods stay in the hole and not under the belt, outside fingers.
(It is recommended to use a plank on the belt to keep it and a clamp to push the rod). If the threading of a rod is too difficult, it can be cut to make the thread by the other side of the belt or in the middle of the belt.
Step 5
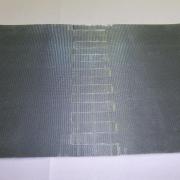 Please ensure that the rods do not exceed to avoid they cling.
Wipe up any drips of lubricant.
This lubricant is not a dangerous or toxic substance, it is conform to FDA standards.
The belt can be tensioned (like a welded belt), adjusted and the conveyor can start-up.
The implementation solution is a lubricant that will solidify and paste over time.
The solution makes the assembly easier and avoid any migration of the rods outside the operating belt.


